The DIY guide
How a DIY turf job actually goes.
This is the same process my crews follow, written for a homeowner with a weekend and a couple of helpers. Read it before your call so we can spend our time on your yard.
Get a materials estimate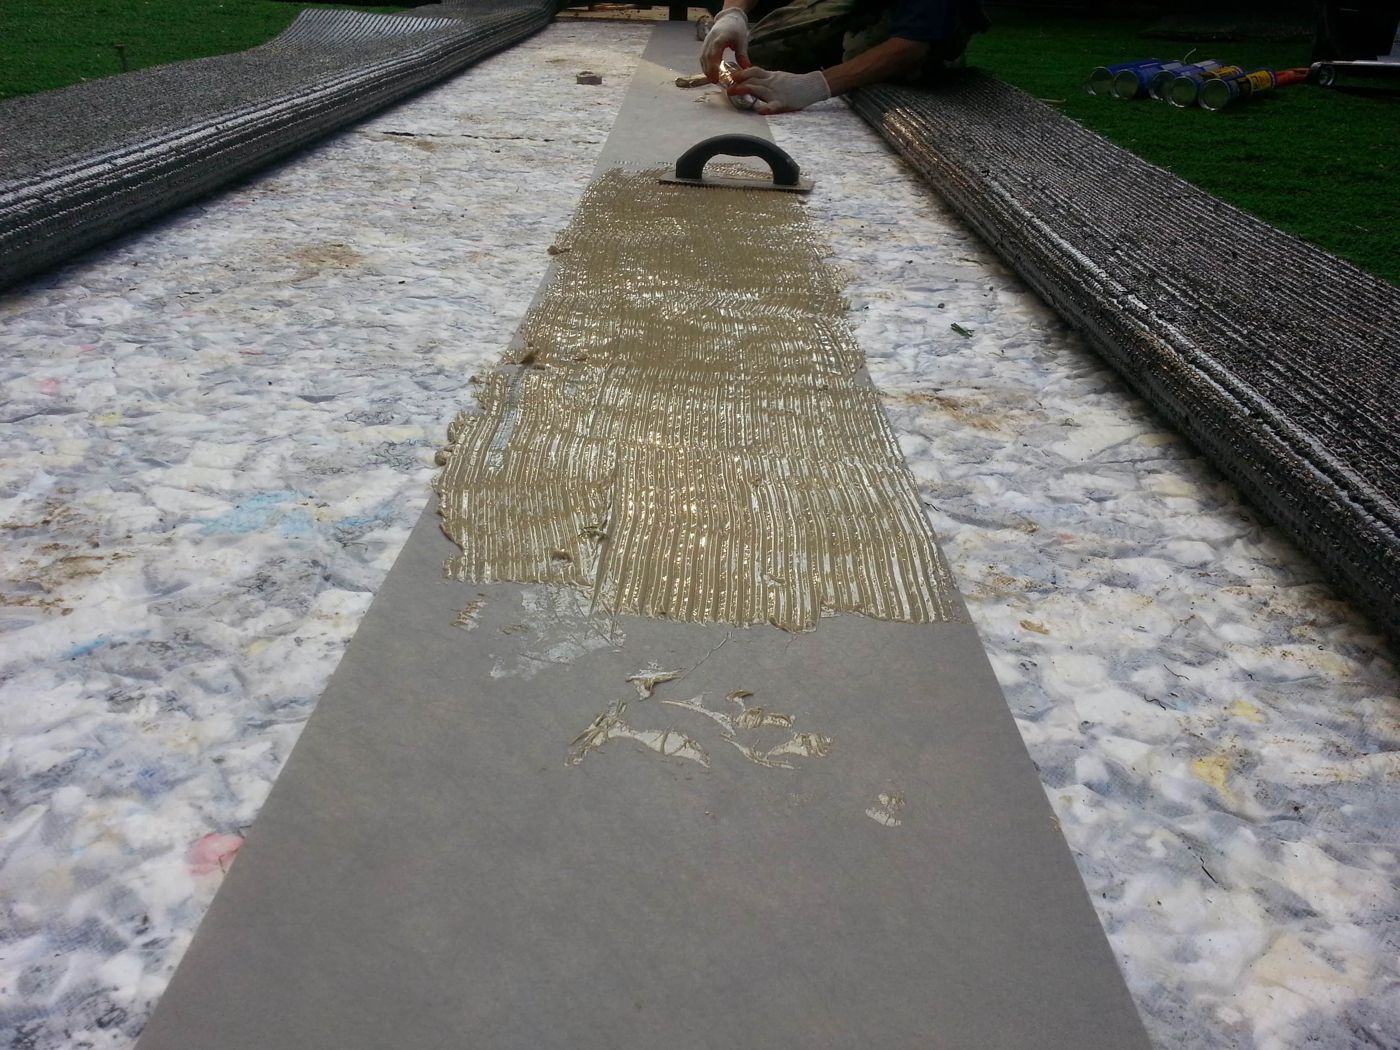
Before you dig
Tools you'll rent or buy
- Vibratory plate compactor (rent it). Skip the “jumping jack” kind, it won't leave a smooth surface.
- Sod cutter for big grass areas, or a pickaxe, mattock and square shovel for small ones
- String level and torpedo level. A laser level if you have one.
- Bow rake, wheelbarrow, hose with a sprayer
- Utility knife with plenty of blades, or a carpet cutter
- Drop spreader and a stiff shop broom for infill. A power broom on big jobs.
- Trowel for spreading seam adhesive
The build, step by step
1 · LAY IT OUT AND DIG
Stake the corners, run a string around them, and mark the shape with spray chalk. Take out the sod and at least 2 inches of soil. Check the slope with your string level and decide where the water will go.
2 · BUILD AND COMPACT THE BASE
Spread 1/4-inch-minus gravel with the back of a bow rake. Dampen it without soaking it, then make as many passes with the plate compactor as it takes. Don't make sharp turns with the compactor or you'll leave ridges. Fill low spots, shave high ones, compact again.
3 · ROLL OUT THE TURF
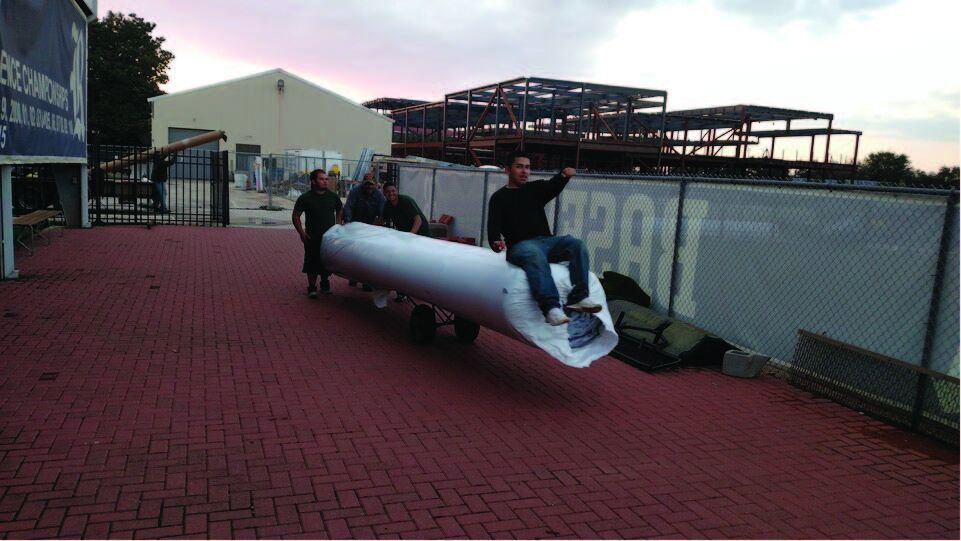
Unroll it and let it sit in the sun for a couple of hours so the wrinkles relax. Every roll's grain has to run the same direction. Roll it into place instead of dragging it, so you don't tear up your base.
4 · SEAM IT
Trim the factory edges, then weigh both rolls down every few feet. Fold one side back, center the seam tape under the line, and spread adhesive about 6 inches wide. Give it 20 to 30 minutes to get tacky, lay the turf in, press it down and walk the seam. Let it cure a few hours.
5 · EDGES AND NAILS
Cut to your borders and transitions. When you nail, spread the blades with your fingers first so you don't trap them, and leave the head just off the backing. A countersunk nail leaves a dimple you'll see forever.
6 · INFILL AND BRUSH
Only spread infill when the turf and sand are completely dry. Work in layers with the drop spreader, then brush it in hard, one direction and then the other, until the blades stand up.
After it's in
- Clean spills with mild detergent and water
- Clear leaves with a plastic rake, or a blower on its lowest setting
- Walk it now and then and look at the seams and edges
- Brush high-traffic areas so the blades stay upright
What I do, what you do
Think you can handle it?
Most people can, with the right base and someone to call. Start with your materials list.